If you’re new to the world of PC-98 emulation, here are some tips.
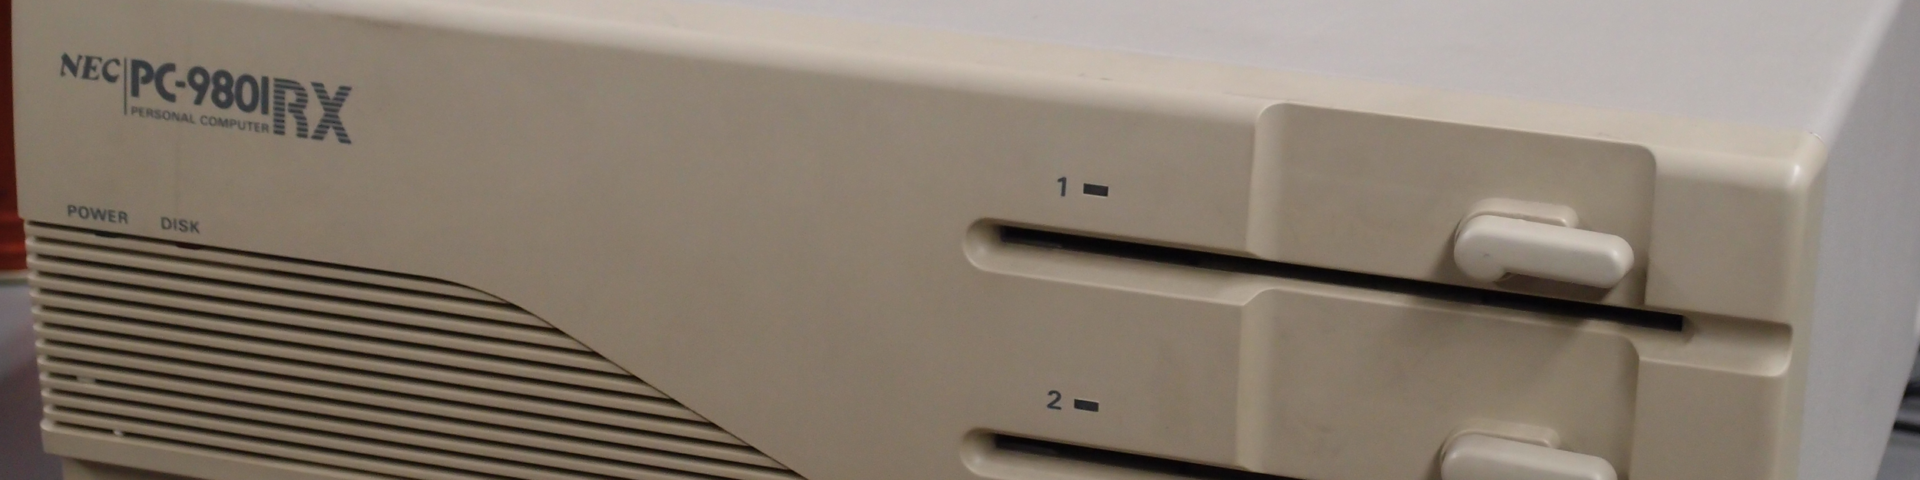
First up, a small explanation of the PC-9800 series of personal computers. What you’re emulating is a really old Japanese computer, basically. It comes with floppy disk drives and hard drives, which are the main methods you use to actually load up games and other software.
For the purposes of emulating, you’ll generally need two things. The first is an emulator which we’ll get to later, and the second will be either a set of floppy disk images or a hard disk image. These will come in a variety of formats, though all should work in any of the emulators.
Floppy Disk Images: FDI, HDM, NFD, D88, etc.
Hard Disk Images: HDI, NHD, SLH, etc.
So, now that you know what these extensions mean and what kind of files/disks you’re going to be using, the next step is getting your emulator running.
Option 1: Neko Project II
Neko Project II is a great emulator for PC-98, but you’ll need some tips on optimizing it so that it runs much more smoothly.
First, download np2fmgen.7z. A recent version can be found here with no password. Or for the latest version, head over to this link. You’ll want both the np2fmgen.7z as well as the fmdllset.7z a little further down the page. The first one is the main emulator itself, and the second one is for better sound quality. It takes a little bit of setup but it’s worth it for proper ADPCM output in games like Rusty.
You’ll also want to download a font (trust me) so that NP2 can display Western characters more easily. This one works well. Drop that in the same folder you put NP2 in and then launch np21.exe.
(If you want to know why np21.exe specifically and not any of the other executables in the folder, there’s a good breakdown of what each version emulates here at the Heroes of Legend forum.)
Once you’ve got NP2 open, click Emulate -> Font… and choose the font.rom file you got from here. Next, you’ll want to click Emulate -> Configure… which will take you to a nice new menu with a few options listed. The main one you’ll want to change here is in the CPU section. Try changing the number of cores in the dropdown list to something like 32 is a decent number. The faster the better, generally, but 32 works just fine for most things. The other options here aren’t as important, but I do suggest increasing your Sound‘s Rate to a higher number like 44k or 88k. Hit OK and get out of that menu.
Next up is just a quick click on Device -> Memory -> 13.6MB, because why not? Some games will require more memory so it’s easier to just get the largest available option here set so you don’t have to worry about it too much later.
Last is getting rid of the scanlines. If you want them feel free to ignore this part, but if you want to get rid of them click on Screen -> Screen Option… and put a check in the Use skipline revisions option, and change the Ratio to the max number (255).
If you want to enable the fmgen.dll that you downloaded above as well, this paragraph is for you. Otherwise, skip it and move on. It’s optional but recommended. If you’re still reading, close your emulator and navigate back to the folder where you put it. Inside you should find the files for the emulator as well as the grouping of FMGEN DLL files that you downloaded from the link above. If you didn’t do that, go get those now because this won’t work without them. After that, look for an INI file (probably np21.ini if you’re doing our suggestions.) Open that with Notepad or whatever text editor you like, and add a new line under the [NekoProject21] section that says – FMGenDll=fmgen.dll. Save the INI file and then close it. Restart np21.exe and you should now see be able to go to Devices -> Sound -> fmgen.dll to enable the external sound generator. Once you’ve done that, you’re all set!
Now you’re ready to actually start playing some games!
Generally this entails plugging the first disk (FDI) into FDD1 and the second disk (FDI) into FDD2, or plugging your hard drive (HDI) into Harddisk -> IDE #0 and then hitting Emulate -> Reset. Most games will launch automatically from there.
Common controls are the the numbers 2, 4, 6, and 8 on the numpad, arrow keys, enter, space, ctrl, z and x. Some games require you to use your mouse, so when that happens hit F12 and it’ll force NP2 to accept your mouse’s input properly. (Also, hit F12 again to get out of that mode.) If your keyboard doesn’t have a numpad you might want to look into getting either Joy2Key to get rebind other keys to numpad, or trying out Anex86 which allows you to rebind the keys in its configuration settings.
Option 2: Anex86
Anex86 is another acceptable PC98 emulator, but it’s older and less powerful. It might be a better option if you don’t have a numpad and want to rebind your keys without messing with Joy2Key. Download it here, and download the Japanese font on the same page, extract it and place that in the same directory. Now open up the emulator, hit Config -> Font, and select the anex86.bmp font you just downloaded. Now close it and you can start playing.
Load floppy disks into the FDD1 and FDD2 fields, or hard disks into the HDD1 and HDD2 fields, and check the box HDD -> FDD if you’re using hard disks.
Anex86 runs fine pretty much out of the box, but there are still some improvements to be made. (TODO: Configurations for emulator speed.)